How it works
Up and running in minutes
No router configuration, no VLANs, no firewall rules. If your staff can use a phone, they can run ClockWiFi.
For your business
- 1
Connect ClockWiFi
Plug the ClockWiFi Device between your existing ISP router and your guest network using Ethernet. No router configuration needed.
- 2
Configure Guest Wi-Fi
Open the local setup page, scan the QR code, and set your guest network name, password, and business branding.
- 3
Set Session Time
Choose a default session duration — 15 minutes, 30 minutes, 1 hour, 2 hours, or a custom value.
- 4
Customers Connect
Customers join the guest Wi-Fi, see your welcome page, accept the terms, and the countdown starts running.
- 5
Time Automatically Expires
When the session ends, Internet is blocked automatically. Staff can extend, end, or block a session in one tap from the dashboard.
- 6
Monitor and Adjust
Check who connected and for how long across branches, then adjust default durations whenever it suits your business.
For your customers
- 1Connect to the guest Wi-Fi network
- 2Captive portal opens automatically
- 3See the business welcome page
- 4Accept the terms
- 5Internet access starts and the countdown begins
- 6Remaining time is shown where supported
- 7Session expires and Internet is blocked automatically
No app to install. No account to create. Connect, accept, use.
It keeps working even when the Cloud is down
The ClockWiFi Device enforces sessions locally. If the ClockWiFi Cloud is temporarily unavailable, customers still get Wi-Fi, countdowns still run, and expired sessions stay blocked. Data synchronizes when the connection returns.
See plans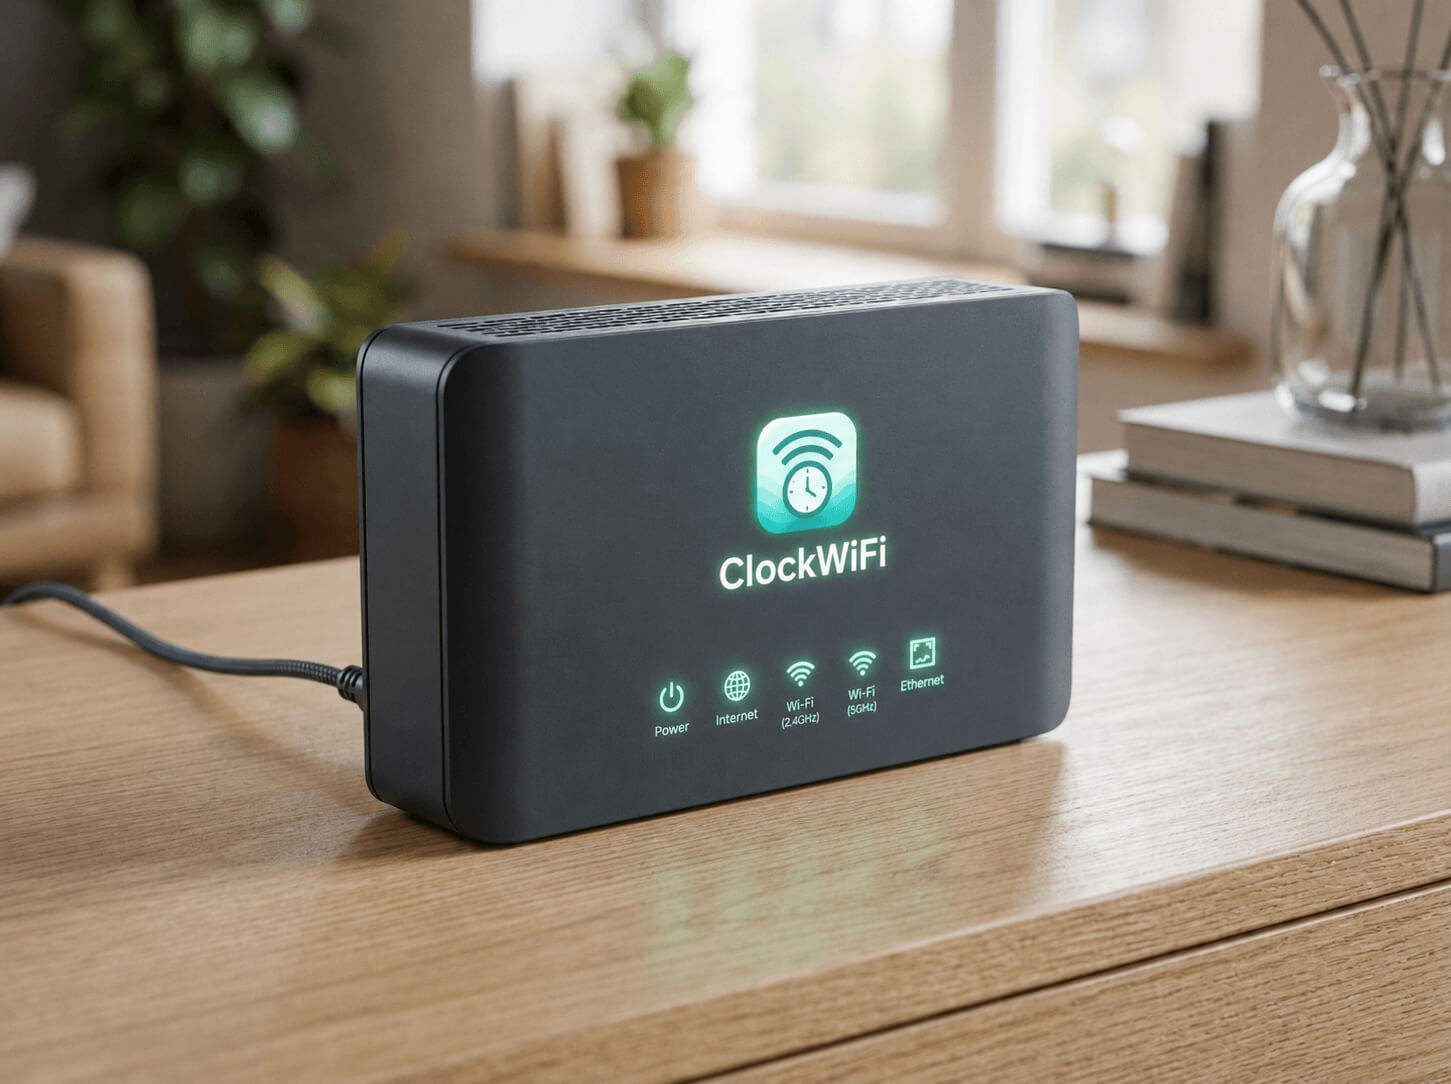
Ready to control your guest Wi-Fi?
Give customers Wi-Fi without giving them unlimited Internet time. Plug in, configure, and start giving time in minutes.